Welcome to The Keg Finder!
Here's how to get your store up and running.
Step 1 — Set Up Your Store Profile
From My Dashboard go to the My Stores tab and click Add Store. Fill in your store name, address, contact info, and hours. This is what buyers will see on your public store page.
Step 2 — Add Inventory via the Keg Database
Click Browse Keg Database in your dashboard. Search for beers by name or brewery, then click a card to add it to your inventory. This is the fastest way to build your listing.
Step 3 — Manage Your Inventory
Use the My Inventory tab to update prices, stock quantities, and availability. You can also manually add kegs not in the database or bulk-import via CSV.
Step 4 — View Your Public Store Page
Once your store and inventory are set up, click View Your Store in your dashboard to see exactly what buyers see when they find you on The Keg Finder.
Step 5 — Keep Your Inventory Fresh
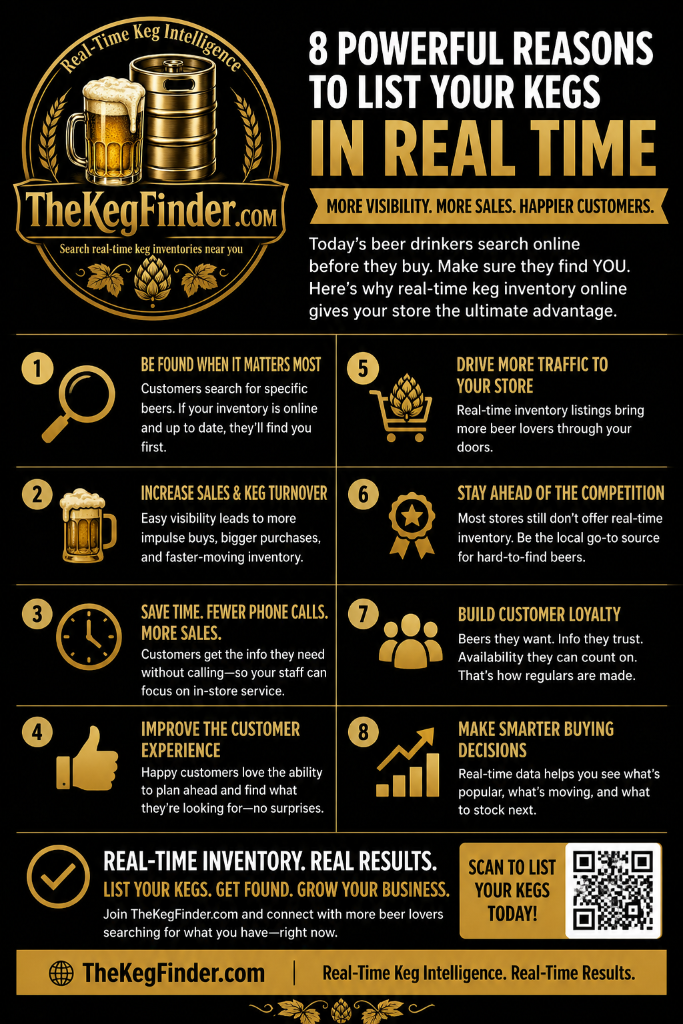
Updating your inventory takes just seconds and is the key to a successful listing! Buyers rely on accurate stock info — stores with up-to-date inventory get more inquiries and trust from customers. This will also reduce the amount of incoming calls asking about your inventory.